
You just bought a shiny new set of 9003 headlight bulbs. You pop the hood, pull out the old bulb, and drop in the new one. Fifteen minutes later, you’re done. Or so you think.
Here’s the reality that most drivers discover the hard way: improper 9003 headlight bulb installation is the #1 cause of poor beam performance, premature bulb failure, and oncoming traffic flashing their high beams at you. We’ve seen it thousands of times in our engineering testing and customer support calls.
Based on our years of manufacturing expertise, we know that a 9003 headlight bulb — whether halogen or LED — is only as good as its installation. Get it wrong, and you’ve wasted your money. Get it right, and you’ll enjoy years of superior visibility. Let’s walk through everything you need to know.
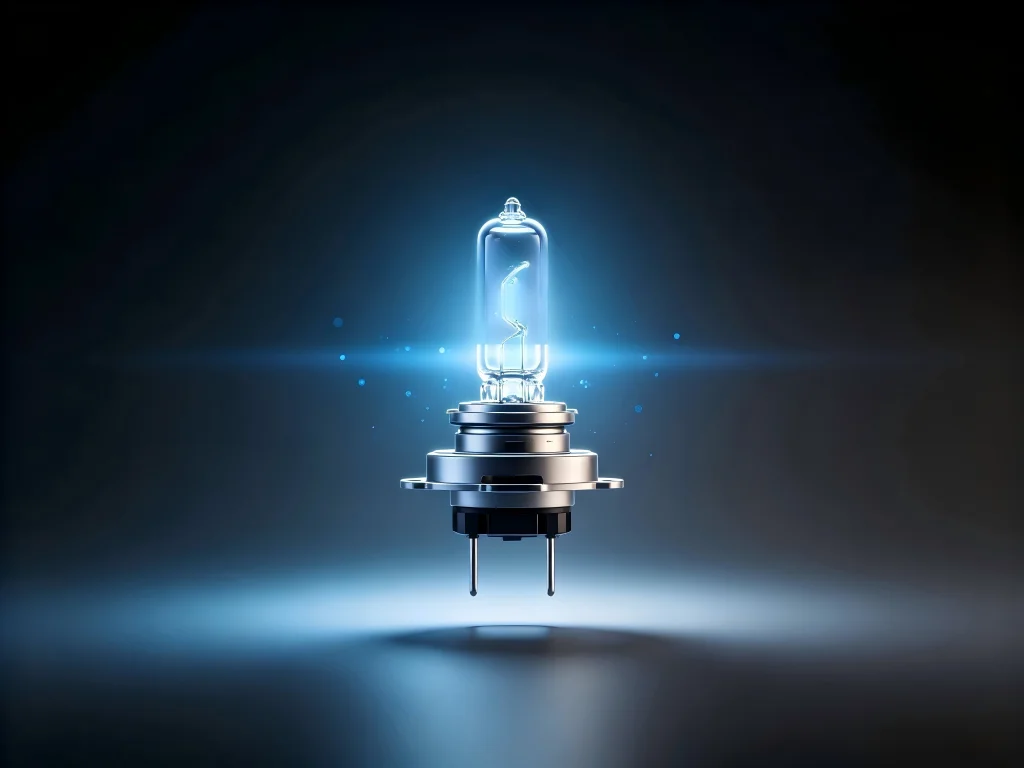
Before You Start: What Makes the 9003 Headlight Bulb Different
The 9003 headlight bulb (also known as H4 or HB2) is a dual-filament design that handles both low beam and high beam in a single unit. This means precise alignment is absolutely critical. The 9003 designation is the North American SAE standard, while H4 is the European ECE equivalent — but physically, they are the same bulb.
Direct Answer: The 9003 headlight bulb uses a P43t base with three positioning tabs, requiring specific orientation during installation. The center tab must face upward, and the shield opening must point upward to produce a correct beam pattern.
Most vehicles that use the 9003 headlight bulb include models from Toyota, Honda, Ford, and Subaru, particularly those manufactured between 1995 and 2013. Motorcycles from Yamaha, Honda, and Kawasaki also commonly use this bulb type.
Tools You’ll Need for a Proper 9003 Headlight Bulb Installation
Before you touch anything, gather these items:
- Clean cotton gloves or a clean microfiber cloth — skin oils on the glass can cause hot spots and premature failure
- A small flathead screwdriver — for releasing spring clips
- Dielectric grease — protects electrical connections from corrosion
- Your vehicle’s owner’s manual — confirms the correct bulb type and any model-specific steps
- A smartphone camera — take a “before” photo of the wiring and orientation
Step-by-Step 9003 Headlight Bulb Installation Guide
Step 1: Remove the Factory Bulb
Disconnect the negative battery terminal. Then locate the back of your headlight housing. You’ll typically find a rubber dust cover protecting the bulb area. Remove this cover by gently prying it off.
Next, disconnect the factory wiring harness from the bulb. Take note of the wire colors or orientation — this matters when you reconnect the new bulb.
Now locate the metal spring retainer clip. Using your fingers or a small screwdriver, push the clip inward and then to the side to release it. Carefully remove the old halogen bulb. Pay attention to its orientation before removing it — the center tab should be facing up.
Pro tip from our service team: Never touch the glass of a halogen bulb with bare fingers. The oils from your skin create hot spots that can cause the bulb to shatter.
Step 2: Install the LED Mounting Collar First (For LED Upgrades)
This is where most DIYers make their first mistake. If you’re upgrading to a 9003 LED headlight bulb, many quality LED bulbs — including the GTR Lighting Ultra Series — feature a removable mounting collar.
Here’s the correct process:
- Detach the mounting collar from the LED bulb body
- Insert the collar into the headlight housing exactly like the factory halogen bulb
- Secure it with the spring clip
- Reinstall the rubber dust cover if applicable
- Once the collar is locked in, slide the LED bulb into the mounted collar and twist it into place
If you attempt to install the LED bulb as one complete piece, the heat sink or cooling fan assembly will likely prevent the spring clip from locking into place. This is a frustrating and completely avoidable problem.
Step 3: Proper Bulb Alignment — The Most Critical Step
Correct orientation is the single most important part of the installation. Your factory halogen H4/9003 bulb has a shield over one filament. When installed properly:
- The center mounting tab faces up
- The shield opening faces upward
- The light source sits horizontally
For LED 9003 headlight bulbs, the LED chips should face left and right — not up and down. If the bulb is rotated incorrectly, you will get:
- Poor beam pattern with dark spots
- Excessive glare that blinds oncoming drivers
- Reduced visibility on the road ahead
Direct Answer: To verify correct 9003 headlight bulb alignment, park your vehicle 25 feet from a flat wall, turn on the low beams, and look for a sharp horizontal cutoff line with a distinct “step” on the right side. If the beam is scattered or uneven, your bulb orientation is incorrect.
Common 9003 Headlight Bulb Installation Mistakes (And How to Avoid Them)
Mistake #1: Ignoring the Dust Cover Clearance Issue
Many aftermarket 9003 LED bulbs feature oversized cooling fans or heat sinks that are too wide for the factory dust cover. In older trucks like the 2005-2015 Toyota Tacoma, headlight housings are notoriously tight.
We’ve measured popular LED kits with cooling fan assemblies up to 42mm in diameter, while the stock halogen base is roughly 38mm. That extra bulk means the rubber dust cover can’t seal properly, leaving gaps that invite moisture, dust, and condensation into your headlight housing.
Solution: Before purchasing any 9003 headlight bulb, measure your available space. Or choose a bulb with a compact, mini-design that’s specifically engineered to fit tight housings.
Mistake #2: Forgetting About CANbus Compatibility
Modern vehicles with onboard computer systems may trigger error messages or cause LED bulbs to flicker when upgrading from halogen. This happens because LEDs draw less current than halogens, and the vehicle’s computer interprets this as a “burnt out” bulb.
Solution: Look for 9003 LED headlight bulbs with built-in CANbus drivers or purchase a separate CANbus decoder. Quality manufacturers like GTR Lighting include intelligent drivers that handle polarity and CANbus issues automatically.
Mistake #3: Assuming “Plug and Play” Means “No Thought Required”
While the 9003/H4 connector is standardized with an exposed three-prong design, not every “plug and play” bulb will actually work perfectly in every vehicle. Some housings require specific bulb depths or have unique retention mechanisms.
Solution: Always check your owner’s manual first. Then verify that your chosen 9003 headlight bulb is explicitly listed as compatible with your vehicle’s make, model, and year.
How to Test Your 9003 Headlight Bulb Installation
Once you’ve installed both bulbs, perform this simple test:
- Park on a level surface 25 feet from a wall or garage door
- Turn on your low beams and observe the beam pattern
- Look for a sharp, horizontal cutoff line
- The right side of the beam should have a slight upward “step”
- Check that both sides are at the same height
- Switch to high beams and verify the beam extends forward evenly
If you notice any unevenness, scatter, or glare, your 9003 headlight bulb orientation needs adjustment. Loosen the bulb, rotate it slightly, and retest.
9003 Headlight Bulb Installation FAQ
How long does it take to install a 9003 headlight bulb?
For most vehicles, a 9003 headlight bulb replacement takes 10-15 minutes per side. LED upgrades with removable collars may take slightly longer — about 20-25 minutes per side — due to the extra mounting step.
Do I need special tools to install a 9003 headlight bulb?
No. Most 9003 headlight bulb installations require only your hands and possibly a small flathead screwdriver for the spring clip. However, we strongly recommend wearing clean gloves to avoid touching the bulb glass.
Why is my 9003 LED headlight bulb flickering after installation?
Flickering typically indicates a CANbus compatibility issue or a poor electrical connection. Check that the connector is fully seated. If the problem persists, your vehicle may require a CANbus decoder or anti-flicker harness.
Can I install a 9003 headlight bulb in my motorcycle?
Yes. Many motorcycles from Yamaha, Honda, Ducati, and Harley-Davidson use the H4/9003 bulb. The installation process is similar to automotive applications, though access may be more restricted.
What’s the difference between 9003 and H4 bulbs for installation?
Nothing. 9003 and H4 are the same physical bulb with different naming conventions. The installation process is identical. The 9003 designation follows DOT standards, while H4 follows ECE standards.
How do I know if a 9003 headlight bulb fits my car?
Check your owner’s manual, inspect the current bulb’s base, or use an online compatibility tool. The 9003 headlight bulb fits a wide range of vehicles including Toyota Camry, Corolla, Tacoma (1997-2012), Honda Accord, Civic, CR-V (1995-2009), and many others.
Why Installation Expertise Matters — The GTR Advantage
We designed the GTR Lighting 9003 headlight bulb with installation in mind. Every detail — from the removable mounting collar to the compact cooling system — is engineered to make your upgrade as smooth as possible.
Our Ultra Series 2.0 and 3.0 bulbs feature digitally precise LED placement that mirrors the exact location of factory halogen filaments. This means when you follow our installation guide, you get a perfect beam pattern with minimal scatter — every lumen aimed exactly where it should be.
We’ve also eliminated the guesswork with built-in CANbus drivers that prevent flickering and error codes. No extra resistors, no decoders, no headaches.
Ready to Upgrade Your 9003 Headlight Bulbs?
You now have everything you need to install your 9003 headlight bulbs correctly. The difference between a rushed installation and a proper one is the difference between mediocre lighting and truly exceptional visibility.
Don’t settle for guesswork. Choose a 9003 headlight bulb that’s engineered for precision and backed by real manufacturing expertise.
Explore the full GTR Lighting 9003 headlight bulb collection at www.rhgtr.in and experience the difference that proper engineering makes.