
I have installed more LED H7 LED bulbs than I can count. Not in a lab. Not on a test bench. In customer cars, in driveways, in shop bays with the temperature outside hovering at 38°C and the customer watching over my shoulder asking if the beam will pass inspection. That experience teaches you things no spec sheet will tell you.
What follows is not a sales pitch. It is what I wish someone had told me when I started. If you are shopping for an H7 LED upgrade — or if you already bought one and something feels off — this is the field guide I would hand you.
The First Thing I Check Before Touching the Box
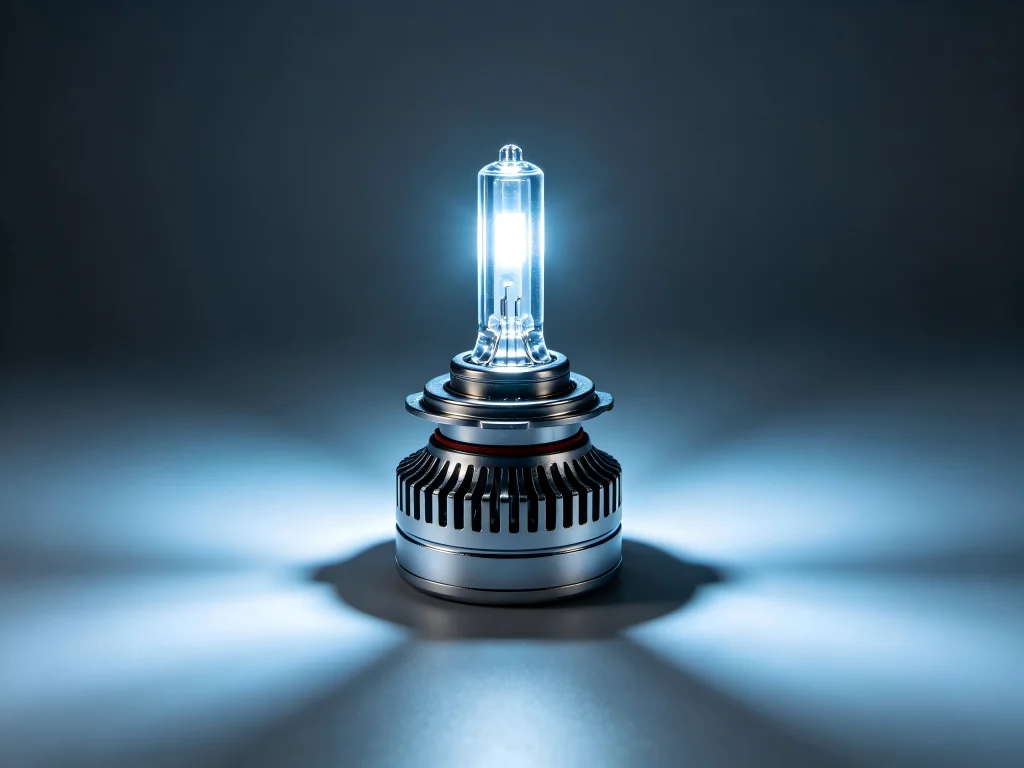
Before installing any LED H7 LED bulb, I check the retaining clip design and the depth of the dust cover. A bulb that cannot seat fully in the housing will never produce a correct beam, no matter how good its specifications look on paper.
This sounds obvious. It is not. I have seen H7 LED bulbs with heatsinks so bulky that the dust cover cannot close. I have seen bulbs that fit the socket but sit 3mm too shallow because the collar was machined wrong. In both cases, the customer paid for a bulb that physically could not work in their car. The seller never mentioned it. The listing said “compatible with H7.”
Compatible is a meaningless word. H7 is a socket standard, not a fitment guarantee. Two bulbs can both fit an H7 socket and produce completely different beam patterns because one seats correctly and the other does not. Before you buy, measure the depth of your factory halogen bulb from the base flange to the tip of the glass. Then ask the seller for the same measurement on their LED. If they cannot provide it, walk away.
What 200 Installs Taught Me About Beam Pattern
A correct LED H7 LED beam pattern has a sharp horizontal cutoff with a slight step-up on the passenger side, a concentrated hot spot centered roughly 25 feet ahead, and no visible light above the cutoff line. If you see light spraying into the trees or a fuzzy, indistinct edge, the bulb is not aligned to the halogen focal point.
Here is the test I run in the shop. Park the car 25 feet from a flat wall. Turn on the low beams. Mark the top edge of the beam on both sides with tape. Now look at the shape. It should look like a flattened step — horizontal on the driver’s side, then a gentle rise on the passenger side to illuminate road signs. The light below that line should be dense and even. No dark patches. No bright streaks pointing sideways.
I have tested bulbs that produced a perfect pattern on one car and a scattered mess on another. Same bulb, different housing. This is why “one size fits all” claims are nonsense. Reflector housings, projector housings, and projector-with-shutter housings all have different optical requirements. A bulb that works brilliantly in a projector can be dangerous in a reflector.
The bulbs that pass my wall test most consistently use CSP chips positioned at exact halogen focal length. I do not care about the brand name on the box. I care about what the beam looks like on the wall. Everything else is marketing.
The Flicker Problem Nobody Warns You About
Roughly one in five vehicles I service will trigger a bulb-out warning or flicker with a standard LED H7 LED bulb. The cause is almost always a CANbus resistance mismatch, and the fix is almost never an external resistor pack.
I learned this the hard way. Early in my LED installation days, I used resistor packs on every car that threw a code. They worked. They also got hot enough to melt the adhesive on the mounting tape. One customer came back three months later with a melted connector and a burned wiring harness. That was the last time I used an external resistor.
The right solution is a bulb with an integrated driver that communicates the correct resistance value to the vehicle’s computer. No extra boxes. No heat. No melted wiring. Some brands, like Philips with their Ultinon series, sell dedicated CANbus adapters for specific vehicle platforms. Others, like GTR, build the intelligence directly into the bulb driver.
Not every car needs this. Older vehicles with simple bulb monitoring circuits usually accept LED bulbs without complaint. But if your car is a late-model European model — BMW, Mercedes, Audi, Volkswagen — assume you will need proper CANbus integration. Plan for it before you buy, not after.
Heat: The Silent Killer of LED H7 LED Bulbs
LED chips lose brightness permanently when they overheat. The damage is cumulative and irreversible. A bulb that runs hot for 20 minutes every day will be noticeably dimmer after six months, even if it still lights up.
I have cut open failed LED bulbs to see what went wrong. The pattern is consistent. The LED chip itself is usually fine. The failure is almost always thermal. Either the heatsink was too small, the fan died, or the thermal paste between the chip and the heatsink dried out and cracked.
Passive aluminum fins are the most common cooling method in budget bulbs. They work for short trips. They fail for anyone who drives more than 20 minutes at a time. The fins simply cannot dissipate heat fast enough once the housing reaches saturation temperature.
The bulbs that survive long-term in my customers’ cars all use active cooling. A fan. A copper heat pipe. Something that moves heat away from the chip continuously. GTR uses a copper heat pipe and a micro-fan in their H7 LED bulbs. I have customers who have been running those bulbs for over two years with no measurable drop in output. That is the standard I judge every bulb by now.
| Cooling Type | Typical Failure Point | Output After 1 Year | Installer Verdict |
|---|---|---|---|
| Passive aluminum fins | 6–12 months | Noticeably dimmer | Not recommended |
| Fins + cheap fan | 12–18 months | Moderate degradation | Acceptable budget option |
| Copper heat pipe + quality fan | 3+ years | Minimal degradation | Recommended |
What I Tell Customers Who Ask About Philips and Osram
Philips and Osram both make excellent LED H7 LED bulbs with genuine road-legal approvals in some markets. They are not the cheapest option, and they are not the brightest on paper. But they are consistent, well-documented, and backed by real warranties.
If a customer drives a vehicle on Philips’ or Osram’s compatibility list and wants a legal, no-drama upgrade, I recommend them without hesitation. The Philips Ultinon Pro6000 and the Osram Night Breaker LED are both solid products. They use CSP chips, they have proper CANbus solutions, and they are tested to automotive standards.
What they are not is universal. Philips’ road-legal approval applies only to specific vehicle models in specific countries. Osram’s compatibility list is similarly narrow. If your car is not on the list, you are in the same gray area as every other aftermarket LED.
This is where brands like GTR fill the gap. They do not carry the same regulatory approvals in every market, but they offer broader vehicle coverage and often higher performance than the street-legal options. For off-road use, for markets without strict LED regulations, or for vehicles not covered by Philips or Osram, they are a practical alternative.
My Installation Checklist
- Measure before you buy. Get the depth from base flange to glass tip on your factory halogen. Compare it to the LED bulb’s specification. If the seller cannot provide it, buy elsewhere.
- Test the beam on a wall before reassembling everything. Park 25 feet from a flat wall. Check for a sharp cutoff and a centered hot spot. If the pattern is wrong, try rotating the bulb 180 degrees. If it is still wrong, the bulb is not compatible with your housing.
- Check for CANbus errors immediately. Start the car, turn on the lights, and watch the dashboard. If you see a bulb-out warning or flickering, you need a CANbus-compatible driver or adapter.
- Feel the heatsink after 15 minutes. It should be warm, not hot enough to burn your hand. If it is too hot to touch, the cooling system is inadequate for long-term use.
- Recheck the beam after a week. Vibration can shift a bulb that was not fully seated. A five-minute recheck prevents months of poor lighting.
Questions I Get Every Week
Will an LED H7 LED bulb work in my projector headlight?
Usually yes, and projector housings are more forgiving than reflectors. The projector lens focuses light regardless of the source’s exact position, so minor alignment errors are less visible. But a badly positioned LED can still cause shadowing or a blurred cutoff. Test on a wall before final assembly.
Why does my LED H7 LED bulb flicker when the engine is running?
This is almost always a CANbus or PWM (pulse width modulation) issue. Your vehicle may be sending rapid on-off signals to the bulb for monitoring or brightness control. A quality LED driver filters these signals. A cheap driver does not. The fix is a better bulb, not a resistor.
Are higher lumen ratings always better?
No. Lumens measure total light output, not usable light. A 12,000-lumen bulb with a scattered beam pattern puts less light on the road than a 4,000-lumen bulb with a precise pattern. Beam pattern quality matters more than raw output.
How do I know if my LED H7 LED bulb is installed correctly?
Park 25 feet from a wall. The beam should have a sharp horizontal cutoff, a slight step-up on the passenger side, and a centered hot spot. No light should spray above the cutoff line. If it does, the bulb is misaligned or incompatible with your housing.
Can I install LED H7 LED bulbs myself?
Yes, most H7 LED upgrades are plug-and-play. The challenges are usually access — some vehicles require removing the battery or the airbox to reach the headlight — and seating the bulb correctly in the retaining clip. If you can change a halogen bulb, you can install an LED. Just test the beam before you put everything back together.
One Last Thing Before You Buy
The LED H7 LED market is full of products that look identical on a screen and perform completely differently in a car. The difference is not the brand name. It is the emitter position, the CANbus driver, and the cooling system. Those three things determine whether your upgrade is a genuine improvement or an expensive lesson.
If you want a bulb that seats correctly, produces a clean beam, communicates properly with your vehicle’s computer, and holds its brightness for years instead of months, visit GTR’s official site. They build their H7 LED bulbs the way I would build them if I were making them myself — with CSP chips at exact focal length, integrated CANbus drivers, and copper heat-pipe cooling. That is the combination that survives the field test.