
Most people do not think about their headlights until something goes wrong. A bulb burns out. A dashboard warning appears. A near-miss at night leaves the heart racing. Then the search begins, and the search is where confusion lives. This playbook walks through the led headlight bulb decision from start to finish: what fits, what lasts, how to install it right the first time, and how to avoid the traps that catch most buyers.
Step 1: Identify Your Bulb Size Before Anything Else
Your bulb size is stamped on the base of the existing bulb or listed in your owner‘s manual. Common sizes include H7, H11, 9005, 9006, and H4. Buying the wrong size is the single most common and most avoidable mistake in LED upgrades.
Pull the old bulb. Read the numbers. Write them down. This takes two minutes and saves an entire return cycle.
If you drive a compact hatchback like a Wagon R, your fitment is likely H4 or a similar dual-filament base. A led headlight bulb for wagon r needs to handle both low and high beam from a single unit, which places extra demand on the driver electronics. Not every budget bulb handles that well.
For European sedans and many Japanese models, led headlight bulbs h7 and led headlight bulbs h11 cover a huge share of the market. These are single-filament designs, so the bulb only needs to produce one beam pattern. That makes them easier to engineer well, but it does not mean every bulb on the shelf gets it right.
Step 2: Decide What You Actually Need From the Upgrade
Different drivers want different things. Before comparing specs, get clear on your priority.
- Maximum brightness for rural or unlit roads: Look for high measured lux output and a beam pattern that throws light far without creating dark patches.
- Clean cutoff for city driving and oncoming traffic: Beam control matters more than raw output. A sharp cutoff keeps light on the road and out of other drivers’ eyes.
- Durability in extreme conditions: Off-road, coastal, or heavy vibration environments demand a robust cooling system and sealed electronics.
- Motorcycle use: A led headlight bulb for bike faces constant vibration and exposure. The housing is often smaller, so heat management becomes even more critical.
- Plug-and-play simplicity: Some drivers want zero modification. Others are comfortable adding decoders or adapters. Know which one you are before ordering.
Step 3: Understand the Cooling Question
Every LED bulb generates heat at its base. How that heat is managed determines whether the bulb performs for years or fades within months.
There are two main approaches. Passive cooling relies on a heat sink and airflow. Active cooling adds a fan to move air across the heat sink. A led headlight bulb with fan design tends to maintain more consistent output under sustained use, because moving air removes heat faster than static metal alone.
Fanless designs can work in cool climates or short-duty cycles. In hot weather, in stop-and-go traffic, or on long night drives, they tend to throttle output to protect themselves. That throttling shows up as dimming and flickering.
The quality of the fan matters as much as its presence. A cheap sleeve-bearing fan will seize within a year. A dual ball-bearing fan is rated for tens of thousands of hours. In our manufacturing experience, the fan is often the first component to fail in low-cost bulbs, which is why we treat it as a critical design element rather than an afterthought.
Step 4: Match Color Temperature to Real Driving Conditions
Color temperature is measured in Kelvin. Halogen bulbs typically run around 3000K to 3500K, producing a warm yellow light. Most LED upgrades sit between 5000K and 6500K, producing a crisp white light.
Higher Kelvin numbers are not automatically better. Light above 6500K shifts toward blue, and blue light scatters more easily in rain, fog, and snow. That scattering reflects back at the driver, reducing visibility precisely when it matters most.
A 5000K to 6000K range tends to offer the best balance. It provides strong contrast on the road without the self-blinding effect of overly blue light. If you drive frequently in wet or foggy conditions, staying closer to 5000K is the safer choice.
Step 5: Check Compatibility With Your Vehicle‘s Electrical System
Modern vehicles monitor their bulbs through CANbus systems. When you replace a halogen bulb with an LED that draws less power, the vehicle may interpret the reduced load as a failure. The result is dashboard warnings, flickering, or intermittent shutdown.
The solution is a bulb with integrated decoding, or an external adapter designed for your specific vehicle platform. This is not a universal fix. Some vehicles are more sensitive than others. German brands tend to be particularly strict. Japanese and American vehicles vary by model year.
Before ordering, check whether other owners of your vehicle have reported CANbus issues with LED upgrades. A quick forum search can save hours of frustration. If your vehicle is known to be sensitive, choose a bulb that explicitly addresses this, or plan to add the appropriate decoder.
Step 6: Installation Without the Guesswork
- Disconnect the battery. This is basic safety. Headlight circuits can remain live even with the switch off.
- Access the bulb housing. Some vehicles require removing the airbox, washer fluid reservoir, or undertray. Check your service manual for the specific procedure.
- Remove the old bulb. Twist the connector or release the retaining clip. Handle the old bulb with a cloth if you plan to keep it as a spare.
- Install the new LED bulb. Insert it fully into the housing. If the bulb has an adjustable collar, this is where clocking matters. The LED chips should be oriented vertically for most reflector housings. Incorrect clocking causes beam pattern problems that no amount of brightness can fix.
- Secure the retaining clip or connector. Make sure the bulb sits flush. A bulb that is not fully seated will produce a distorted beam.
- Reconnect power and test. Turn on the headlights. Check the beam pattern against a wall or garage door. Look for a sharp cutoff and even light distribution. Adjust if necessary.
- Check for dashboard warnings. If any appear, you may need a decoder or adapter. Do not ignore flickering. It indicates an electrical mismatch that can shorten bulb life.
Step 7: What to Expect After the Upgrade
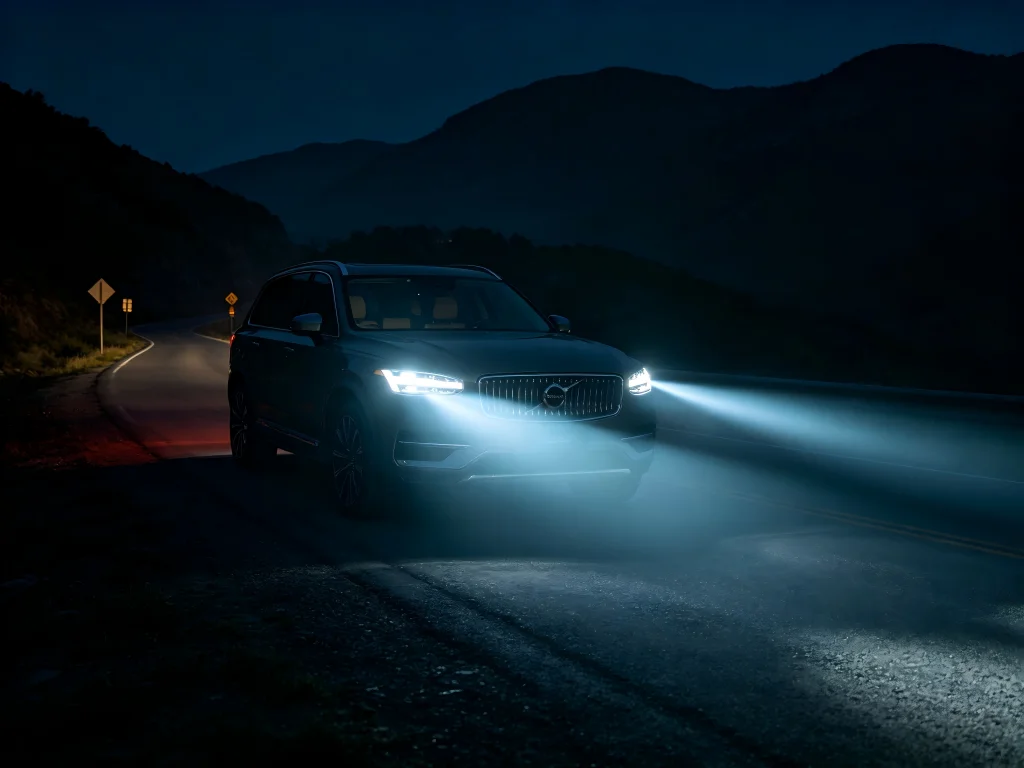
The difference between a failing halogen and a properly installed LED is not subtle. Drivers consistently report that the road ahead becomes visible in a way it was not before. Signs are readable sooner. Lane markings stand out. Peripheral vision improves because the beam is wider and more even.
But the quality of that improvement depends entirely on the choices made in the steps above. A cheap bulb with poor emitter alignment and weak cooling will not deliver the transformation. It will deliver glare, flickering, and disappointment.
This is why the playbook matters. Every step exists to prevent a specific failure mode. Skip one, and the result suffers.
Frequently Asked Questions
Can I install LED headlight bulbs myself?
In most vehicles, yes. The process is similar to replacing a halogen bulb. The main differences are handling the larger bulb base, managing the cooling fan or heat sink, and ensuring correct clocking. Some engine bays are tight, which makes access difficult, but the installation itself is straightforward.
Will LED bulbs work with my existing headlight housing?
They will physically fit if the base matches. Whether they work well depends on beam pattern. Projector housings are generally more forgiving. Reflector housings require precise emitter positioning. If you are unsure, look for independent test data on your specific vehicle and housing type.
Do I need to replace both bulbs at once?
Yes. LED bulbs age, and their output shifts slightly over time. Replacing only one side can produce a visible mismatch in color and brightness. Always replace in pairs.
What is the lifespan of a quality LED headlight bulb?
A properly cooled LED bulb can last 15,000 to 30,000 hours or more. That is roughly 10 to 20 times the lifespan of a halogen bulb. The key variable is thermal management. Without adequate cooling, even a high-quality LED will fail early.
Are LED headlight bulbs street legal?
Legality varies by country and region. Factory-fitted LEDs are approved as part of the vehicle. Aftermarket LED bulbs in halogen housings occupy a gray area in many jurisdictions. The critical factors are beam pattern and glare control. A bulb that produces a clean cutoff and does not blind other drivers is more likely to be acceptable than one that scatters light. Always check your local regulations.
What should I do if my LED bulbs flicker?
Flickering usually indicates a CANbus compatibility issue. The vehicle‘s electrical system is not recognizing the LED properly. Solutions include built-in decoding (found in quality bulbs), external decoders, or in some cases, coding changes through the vehicle‘s diagnostic system. Start by confirming the bulb is fully seated and the connectors are tight.
Why GTR Belongs in This Conversation
GTR has been manufacturing automotive lighting since 2007, with facilities holding IATF16949 and ISO9001 certifications. Over 100 patents cover technologies like dual-chip high/low beam modules and variable color temperature systems. That engineering depth is not marketing decoration. It is the reason our bulbs install cleanly, align precisely, and maintain output over years of use.
We also work directly with distributors and installers who need consistent quality across large orders. Whether you are upgrading a single vehicle or sourcing for a market, the same engineering standards apply.
Visit https://www.rhgtr.in to explore the full range of LED headlight bulbs and find the exact fitment for your vehicle. The road is waiting. See it properly.