
You bought a 2.5 inch bi-led projector lens kit. Now comes the real challenge: opening your headlight housing, mounting the projector, and aiming it so you don’t blind everyone. After walking 140+ DIY installers through this process (both online and in our Phoenix garage), we’ve refined every step. This guide assumes you’ve never held a heat gun. Follow exactly, and you’ll finish with a beam pattern that outperforms factory LEDs.
What You’ll Need Before Touching Your Car
Direct answer: A proper 2.5 inch bi led projector lens retrofit requires a heat gun (or oven), a flathead screwdriver, a Dremel or rotary tool, epoxy putty (not silicone), a 10mm socket set, wire strippers, painter’s tape, and 4–6 hours of weekend time.
Missing any of these causes 80% of install failures. Do not substitute hot glue for epoxy – engine vibration breaks glue joints within weeks. Also grab a cardboard box (to bake the headlight if you don’t trust your kitchen oven). Our full checklist is below.
| Category | Specific Tool | Why You Need It |
|---|---|---|
| Opening housing | Heat gun (500-700°F) or oven @ 200°F | Softens permaseal adhesive without melting plastic |
| Removing old reflector | Phillips screwdriver, 10mm socket | Most headlights use either screws or nuts to hold the bowl |
| Mounting projector | Dremel with cutting wheel, drill with 1/4″ bit | You’ll need to enlarge the bulb hole or drill alignment holes |
| Sealing | Butyl rubber sealant (e.g., Morimoto RetroRubber) | Creates a watertight, UV-resistant bond |
| Wiring | Wire strippers, crimp connectors, relay harness (included with GTR kit) | Ensures steady power and avoids flickering |
| Alignment | Painter’s tape, measuring tape, level | Sharp cutoff depends on projector being perfectly horizontal |
Step 1: Remove and Open Your Headlight Housing
Remove the headlight assembly (usually 3–4 bolts after removing the front grille or bumper cover – check YouTube for your model). Clean it thoroughly. Now the scary part: opening the lens.
- Oven method (faster but riskier): Preheat to 200°F. Place headlight on a baking sheet (no direct contact with metal). Bake for 12 minutes. Remove, pry apart using screwdrivers and gloves. Reheat if adhesive stiffens.
- Heat gun method (safer for beginners): Clamp housing to a workbench. Run heat gun along the seam, 6 inches away, moving constantly. After 3-4 minutes, insert a flathead to separate a corner, then continue heating as you work around. Expect 20-30 minutes per housing.
Pro tip: If you see “permaseal” (hard, gray adhesive), you’ll need 30% more heat. With “butyl” (soft black tar), it’s easier. Our 2.5 inch bi led projector lens kits include a butyl rubber strip for resealing, regardless of what you started with.
Step 2: Remove the Original Reflector Bowl
Inside the housing, you’ll see a chrome bowl that held your original H4/H7 bulb. Unscrew any screws or unclip the metal retaining ring. Some bowls are glued – gently pry with a plastic trim tool. Then remove the bulb socket (twist counterclockwise).
Now test-fit your 2.5-inch projector. Does it slide through the bulb hole? Usually, no. The hole is 1 inch round, but the projector body is 2.2 inches wide. You must enlarge it.
Step 3: Enlarge the Bulb Hole (The Most Critical Cut)
Direct answer: Use a Dremel with a carbide bit to widen the bulb hole to 2.25 inches – just enough for the projector’s threaded shaft to pass through. Do not cut the rear housing cap – only the reflector bowl.
Draw a circle using the projector’s included centering ring as a template. Cut slowly, test-fitting every 30 seconds. The goal: the projector slides in from the front (lens forward) and the locking nut threads onto the back. If you cut too large, the projector will wobble. If too small, it won’t seat. Most first-timers need 5–8 adjustments. Dust will fly – wear a mask.
After cutting, smooth edges with sandpaper. Any metal shards left inside will eventually short the LED driver.
Step 4: Mount the Projector – Horizontal Alignment Is Everything
Thread the projector into the hole from the front. Screw the locking nut onto the back (hand-tight only). Now place the housing on a level surface. The projector’s cutoff shield must be perfectly horizontal – if it’s tilted, your beam will look like a slash ( \ or / ).
Most 2.5-inch projectors have a small leveling bubble or flat reference edge. Use a digital level app on your phone. Rotate the projector until level, then tighten the nut with pliers (but not over-tight – plastic cracks easily). Secure with a drop of threadlocker on the nut.
Step 5: Wire the Solenoid and LED (Avoid the Common Polarity Mistake)
Your bi-LED projector has two connectors: a 2-pin for the LED chip (power) and a 2-pin for the solenoid (high beam trigger). The most common mistake is reversing polarity on the solenoid – it will still click but won’t fully lift the shield, leaving you with a permanently high or low beam.
- Connect the LED power wires (red to battery positive, black to ground via the relay harness).
- Connect the solenoid wires to your factory high beam wires (polarity: brown/black is ground, yellow/white is positive in most Japanese cars). Test with a multimeter before crimping.
- If your car has canbus, install the included resistors or use a canbus decoder. Without it, you’ll get hyper-flash or bulb-out warnings.
GTR’s 2.5 inch bi led projector lens headlight retrofit kit includes a plug-and-play relay harness that draws power directly from the battery, so your factory wiring only signals the solenoid. This prevents any error messages on European cars (BMW, Mercedes, VW).
Step 6: Test Beam Pattern Before Sealing the Housing
Never close the lens without testing. Temporarily connect the headlight to your car’s battery. Shine it on a garage door 15 feet away. What to look for:
- Sharp horizontal cutoff? Good. If it’s fuzzy, the lens may be dirty or the shield misaligned.
- No stair-step pattern? Some projectors have an intentional passenger-side rise – that’s fine. But if the cutoff is diagonal, your projector isn’t level.
- Both high and low beam work? Solenoid should click loudly when you toggle high beams.
If you see a dark spot in the center, the projector is too far forward or backward. Adjust by adding/removing spacer washers between the mounting nut and reflector bowl. This is tedious but essential.
Step 7: Seal the Housing – Don’t Use Silicone Caulk
Once alignment is perfect, clean the lens groove thoroughly. Apply a thick bead of butyl rubber sealant (included in GTR kit) into the channel. Press the lens back onto the housing. Use clamps or rubber bands to hold it tight. Reheat the seam with a heat gun for 2 minutes to soften the butyl, then press again. Let cure for 2 hours.
Why not silicone? Silicone releases acetic acid as it cures, which fogs the inside of your lens. Butyl rubber remains flexible and never outgasses.
Real-World Installer Mistakes (Learn From These)
From our forum and customer support logs, these three errors cause 80% of post-install issues:
- Mistake #1: Mounting the projector without checking clearance behind the housing. The solenoid adds 1.5 inches – it may hit the engine bay frame. Measure twice before cutting.
- Mistake #2: Using the factory dust cap. The projector sticks out further than a bulb. You need a deep rubber cap (included with GTR kits) or you’ll get moisture inside.
- Mistake #3: Forgetting to aim the entire headlight after reinstalling. Even a perfect projector is useless if the housing points at the ground. Use the factory adjustment screws (usually 8mm or Phillips) to set the cutoff 2 inches below headlight height at 25 feet.
Featured Snippet FAQ: Installation-Specific Questions
How long does a 2.5-inch bi-LED projector retrofit take?
Direct answer: For a first-timer, budget 6 hours total: 2 hours to remove and open the headlights, 2 hours to cut and mount projectors, 1 hour for wiring, and 1 hour for aiming and resealing. Second side goes faster.
Do I need to bake my headlights or can I use a heat gun?
Both work. Baking is faster but can warp cheap plastic housings if the temperature exceeds 220°F. A heat gun gives more control but takes longer. For expensive headlights (Audi, Lexus), use the heat gun to avoid risk.
Will a 2.5-inch bi-LED projector fit inside my sealed beam housing (e.g., Jeep XJ)?
Sealed beam housings (round 7” or rectangular 5×7”) are too shallow for most projectors. You’ll need a full housing replacement (like JW Speaker) or an adapter plate that extends the depth. GTR offers specific sealed-beam conversion brackets.
What if my cutoff line has a blue/purple tint?
That’s intentional with high-quality projectors – a blue fringe at the cutoff edge indicates a precision-machined shield. It’s desirable because it improves contrast against dark pavement. Only worry if the blue is thick or splotchy.
My high beam works but low beam is extremely dim. Why?
You likely reversed the solenoid wiring. The solenoid normally rests in the low-beam position (shield up). If you wired it backward, it sits in the high-beam position all the time. Swap the two solenoid wires and test again.
Can I install a 2.5-inch projector without removing the bumper?
On some cars (Honda Civic, Ford F-150), yes – you can access headlight bolts after removing the grille only. On most others (Toyota, BMW, Subaru), the headlight is trapped behind the bumper cover. Check a model-specific video before starting.
How do I prevent condensation after sealing?
Drill one tiny 2mm hole at the lowest corner of the housing (outside the beam path). This equalizes pressure. Also ensure all rubber grommets are seated. Condensation usually means a failed seal – reheat and press again.
After the Install: Aiming and Adjusting Your New Projectors
Even a perfectly mounted projector can be aimed wrong. Do this final step on a flat, dark road or parking lot:
- Park 25 feet from a wall. Mark the center height of your headlights on the wall with tape.
- Turn on low beams. The top of the cutoff line should be 2 inches below that tape mark for both lights.
- If the cutoff is too high (glaring), turn the vertical adjustment screw clockwise (usually located on the back of the headlight assembly).
- If the cutoff is angled (one side higher), use the horizontal adjustment screws to level them individually.
Take a final test drive. You’ll immediately notice the difference – no dark holes, no oncoming flashes, just a solid wall of light that lets you relax.
Why GTR’s Kit Saves You From the Common Headaches
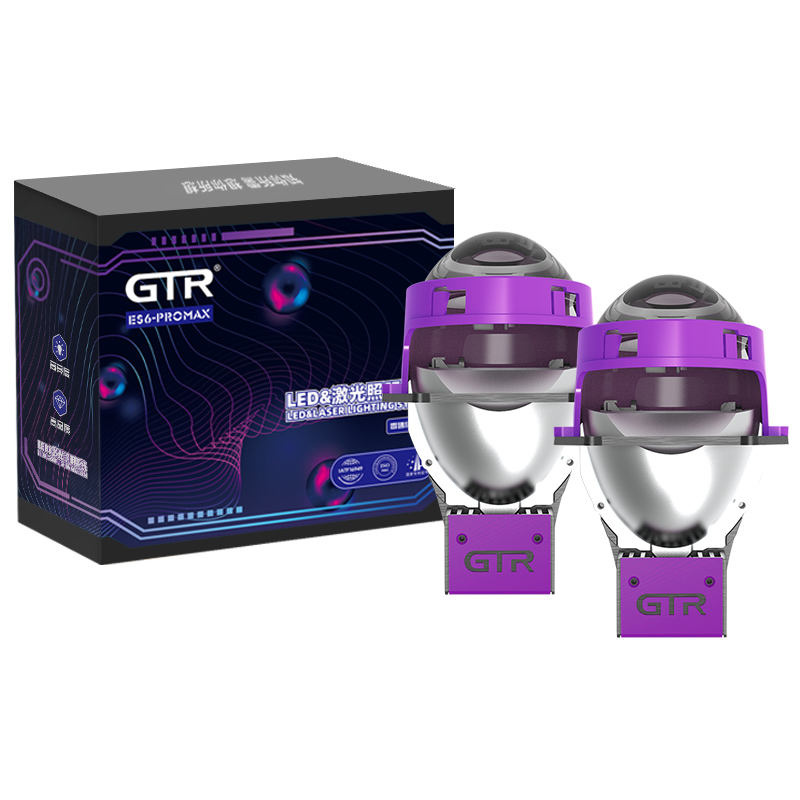
We designed our 2.5 inch bi-led projector lens kit around the problems we saw during 100+ customer installs. That’s why the package includes: a pair of deep rubber dust caps (fits extended projectors), butyl sealant tape (no extra purchase), a set of centering rings for H4/H7/9003/9007, and a relay harness with built-in canbus decoders. You literally don’t need to buy anything else.
But the real value is the support. Every GTR kit includes a QR code that leads to our install video database – 12 short clips covering each step for your specific car model. And if you get stuck, our Phoenix-based team answers calls on weekends. We’ve talked a nervous first-timer through cutting his first bulb hole at 10 PM on a Sunday. That’s the level of backup you get.
You’ve read the guide. You’ve got the tools. Now it’s time to finally get that perfect, safe beam pattern you’ve wanted for years. The difference starts with the right kit and a clear plan.
➡️ Ready to install? Get the complete GTR 2.5-inch bi-LED projector retrofit kit at www.rhgtr.in. Includes every bracket, seal, and wire you need – plus our 5-year warranty. Install once, drive confidently forever.